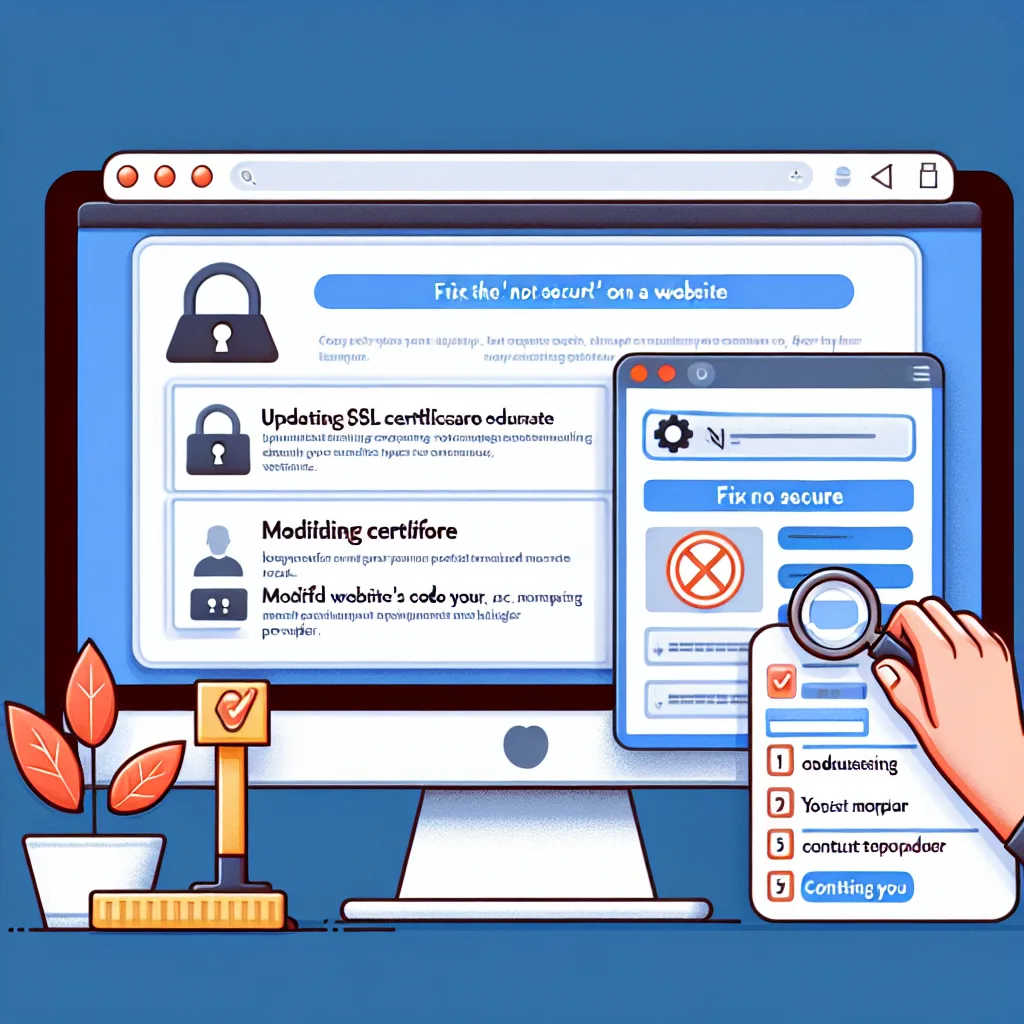
Understanding SSL Certificates: The First Step to Securing Your Website
In today’s digital age, ensuring the security of your website is paramount, not only for protecting sensitive information but also for maintaining the trust of your visitors. One of the most common issues that website owners encounter is the ‘Not Secure’ message displayed in web browsers. This warning can deter potential visitors and harm your site’s credibility. Understanding SSL certificates is the first step to addressing this issue and securing your website effectively.
SSL, or Secure Sockets Layer, is a standard security technology that establishes an encrypted link between a web server and a browser. This encryption ensures that all data passed between the web server and browsers remain private and integral. When a website is secured with an SSL certificate, the URL will begin with “https://” rather than “http://”, and a padlock icon will appear in the browser’s address bar. This visual cue reassures users that their connection is secure, thereby enhancing their confidence in your website.
To fix the ‘Not Secure’ message, the initial step involves obtaining an SSL certificate. There are various types of SSL certificates available, ranging from basic domain validation to more comprehensive extended validation certificates. The choice of certificate depends on the level of security your website requires. For instance, a simple blog might suffice with a domain validation certificate, while an e-commerce site handling sensitive customer data might necessitate an extended validation certificate.
Once you have determined the appropriate type of SSL certificate for your website, the next step is to purchase it from a trusted Certificate Authority (CA). Many web hosting providers offer SSL certificates as part of their hosting packages, which can simplify the process. Alternatively, you can obtain a free SSL certificate from organizations like Let’s Encrypt, which provides domain validation certificates at no cost.
After acquiring the SSL certificate, the installation process begins. This process can vary depending on your web hosting provider and the server software you are using. Most hosting providers offer detailed guides or customer support to assist with the installation. It is crucial to ensure that the certificate is correctly installed and configured to avoid any potential security vulnerabilities.
Following the installation, it is essential to update your website’s internal links and resources to use “https://” instead of “http://”. This step is vital because any remaining “http://” links can trigger mixed content warnings, which may still result in a ‘Not Secure’ message. Additionally, setting up a 301 redirect from “http://” to “https://” ensures that all traffic is automatically directed to the secure version of your site.
Finally, it is advisable to test your website’s SSL configuration using online tools such as SSL Labs’ SSL Test. These tools provide a comprehensive analysis of your SSL setup, highlighting any potential issues that need to be addressed. Regularly monitoring your SSL certificate’s expiration date and renewing it promptly is also crucial to maintaining a secure website.
In conclusion, understanding and implementing SSL certificates is a fundamental step in securing your website and eliminating the ‘Not Secure’ message. By obtaining the right certificate, installing it correctly, and ensuring all site resources are secure, you can protect your visitors’ data and enhance your site’s credibility. As online security continues to be a top priority, taking these steps will help safeguard your website in an increasingly digital world.
Step-by-Step Guide to Installing an SSL Certificate on Your Website
Ensuring the security of your website is paramount in today’s digital landscape, where cyber threats are ever-present and user trust is crucial. One of the most visible indicators of a secure website is the presence of an SSL certificate, which encrypts data transmitted between the user’s browser and your server. If your website displays a ‘Not Secure’ message, it is likely due to the absence of an SSL certificate. This guide will walk you through the process of installing an SSL certificate on your website, thereby eliminating the ‘Not Secure’ warning and enhancing your site’s credibility.
To begin with, it is essential to understand what an SSL certificate is and why it is necessary. SSL, or Secure Sockets Layer, is a protocol that establishes an encrypted link between a web server and a browser. This encryption ensures that all data passed between the server and browser remains private and integral. Without an SSL certificate, any data exchanged on your website is vulnerable to interception by malicious actors, which can lead to data breaches and loss of user trust.
The first step in installing an SSL certificate is to choose the right type of certificate for your website. There are several types of SSL certificates available, including Domain Validated (DV), Organization Validated (OV), and Extended Validation (EV) certificates. The choice depends on the level of validation and security you require. For most small to medium-sized websites, a DV certificate is sufficient, as it provides basic encryption and is the easiest to obtain.
Once you have selected the appropriate SSL certificate, the next step is to purchase it from a trusted Certificate Authority (CA). Many web hosting providers offer SSL certificates as part of their hosting packages, which can simplify the process. Alternatively, you can purchase an SSL certificate directly from a CA. After purchasing the certificate, you will receive a Certificate Signing Request (CSR) from your hosting provider, which is necessary for the CA to issue your SSL certificate.
With the CSR in hand, submit it to the CA to initiate the validation process. For a DV certificate, this typically involves verifying your domain ownership through email or DNS record verification. Once the CA has validated your request, they will issue your SSL certificate, which you can then download.
The next step involves installing the SSL certificate on your web server. The installation process varies depending on your server type and hosting provider. For instance, if you are using a cPanel-based hosting service, you can easily install the certificate through the SSL/TLS Manager. Simply upload the certificate files and follow the on-screen instructions to complete the installation. If you are using a different server type, consult your hosting provider’s documentation for specific installation instructions.
After successfully installing the SSL certificate, it is crucial to configure your website to use HTTPS instead of HTTP. This involves updating your website’s URLs and ensuring that all internal links and resources are loaded over HTTPS. Additionally, set up a 301 redirect from HTTP to HTTPS to ensure that visitors are automatically directed to the secure version of your site.
Finally, test your website to confirm that the SSL certificate is functioning correctly and that the ‘Not Secure’ message has been resolved. Tools such as SSL Labs’ SSL Test can help verify the proper installation and configuration of your SSL certificate. By following these steps, you can effectively secure your website, protect user data, and build trust with your audience.
Common Mistakes to Avoid When Securing Your Website with HTTPS
When securing your website with HTTPS, it is crucial to avoid common mistakes that can lead to the dreaded ‘Not Secure’ message, which can deter visitors and damage your site’s credibility. One of the most frequent errors is neglecting to obtain a valid SSL/TLS certificate from a trusted Certificate Authority (CA). Without this certificate, your website cannot establish a secure connection, leaving it vulnerable to attacks and triggering the ‘Not Secure’ warning in browsers. To prevent this, ensure you acquire a certificate that suits your website’s needs, whether it’s a single domain, multi-domain, or wildcard certificate.
Another common mistake is failing to configure your server correctly to support HTTPS. This involves updating your server settings to listen for HTTPS requests and redirect HTTP traffic to HTTPS. Misconfigurations can result in mixed content issues, where secure and non-secure elements coexist on the same page. This not only undermines the security of your site but also prompts browsers to display the ‘Not Secure’ message. To address this, ensure all resources, such as images, scripts, and stylesheets, are loaded over HTTPS. Tools like Content Security Policy (CSP) can help enforce this by blocking non-secure content.
Moreover, overlooking the renewal of your SSL/TLS certificate is a mistake that can lead to unexpected security warnings. Certificates have expiration dates, and if not renewed in time, your website will revert to an unsecured state. To avoid this, set reminders well in advance of the expiration date and consider automating the renewal process if your CA offers such a service. This proactive approach ensures continuous protection and prevents the ‘Not Secure’ message from appearing due to an expired certificate.
Additionally, some website owners make the mistake of not updating their site’s internal links to use HTTPS. Even after securing the site, internal links that still point to HTTP can cause mixed content issues. Conduct a thorough audit of your website to identify and update all internal links, ensuring they direct users to the HTTPS version of your pages. This not only enhances security but also improves search engine optimization, as search engines favor secure sites.
Furthermore, it is essential to avoid using outdated security protocols and cipher suites. Protocols like SSL 2.0 and SSL 3.0, as well as weak ciphers, are vulnerable to attacks and should be disabled. Instead, configure your server to use the latest versions of TLS, such as TLS 1.2 or TLS 1.3, and strong cipher suites. This ensures robust encryption and prevents browsers from flagging your site as insecure.
Lastly, neglecting to test your website after implementing HTTPS can lead to unforeseen issues. Testing allows you to identify and rectify any problems before they affect your users. Use tools like SSL Labs’ SSL Test to evaluate your site’s security configuration and browser compatibility. Regular testing and monitoring help maintain a secure environment and reassure visitors that their data is protected.
In conclusion, securing your website with HTTPS is a critical step in safeguarding user data and maintaining trust. By avoiding these common mistakes—such as neglecting certificate acquisition and renewal, misconfiguring your server, failing to update internal links, using outdated protocols, and skipping testing—you can ensure a seamless transition to HTTPS and prevent the ‘Not Secure’ message from undermining your site’s reputation.